Pages

September 30, 2025

6 Hidden Firefox Settings for Better Privacy and Fewer Distractions

By Shan Abdul @ HowToGeek

Firefox comes with a range of features you might never use—and may even find annoying. While some nuisances can be turned off in the regular settings menu, others require adjustments on the about:config page—and that approach is often quicker too. Here are a few settings I’ve turned off using it.

Stop Auto-Playing Media

Do you hate it when videos or audio start playing without your consent the moment you open a website? This not only interrupts your browsing but also eats bandwidth and slows down page loading. If you want your browsing to stay distraction-free, Firefox lets you disable the autoplay of media, both video and audio, through the about:config preferences.

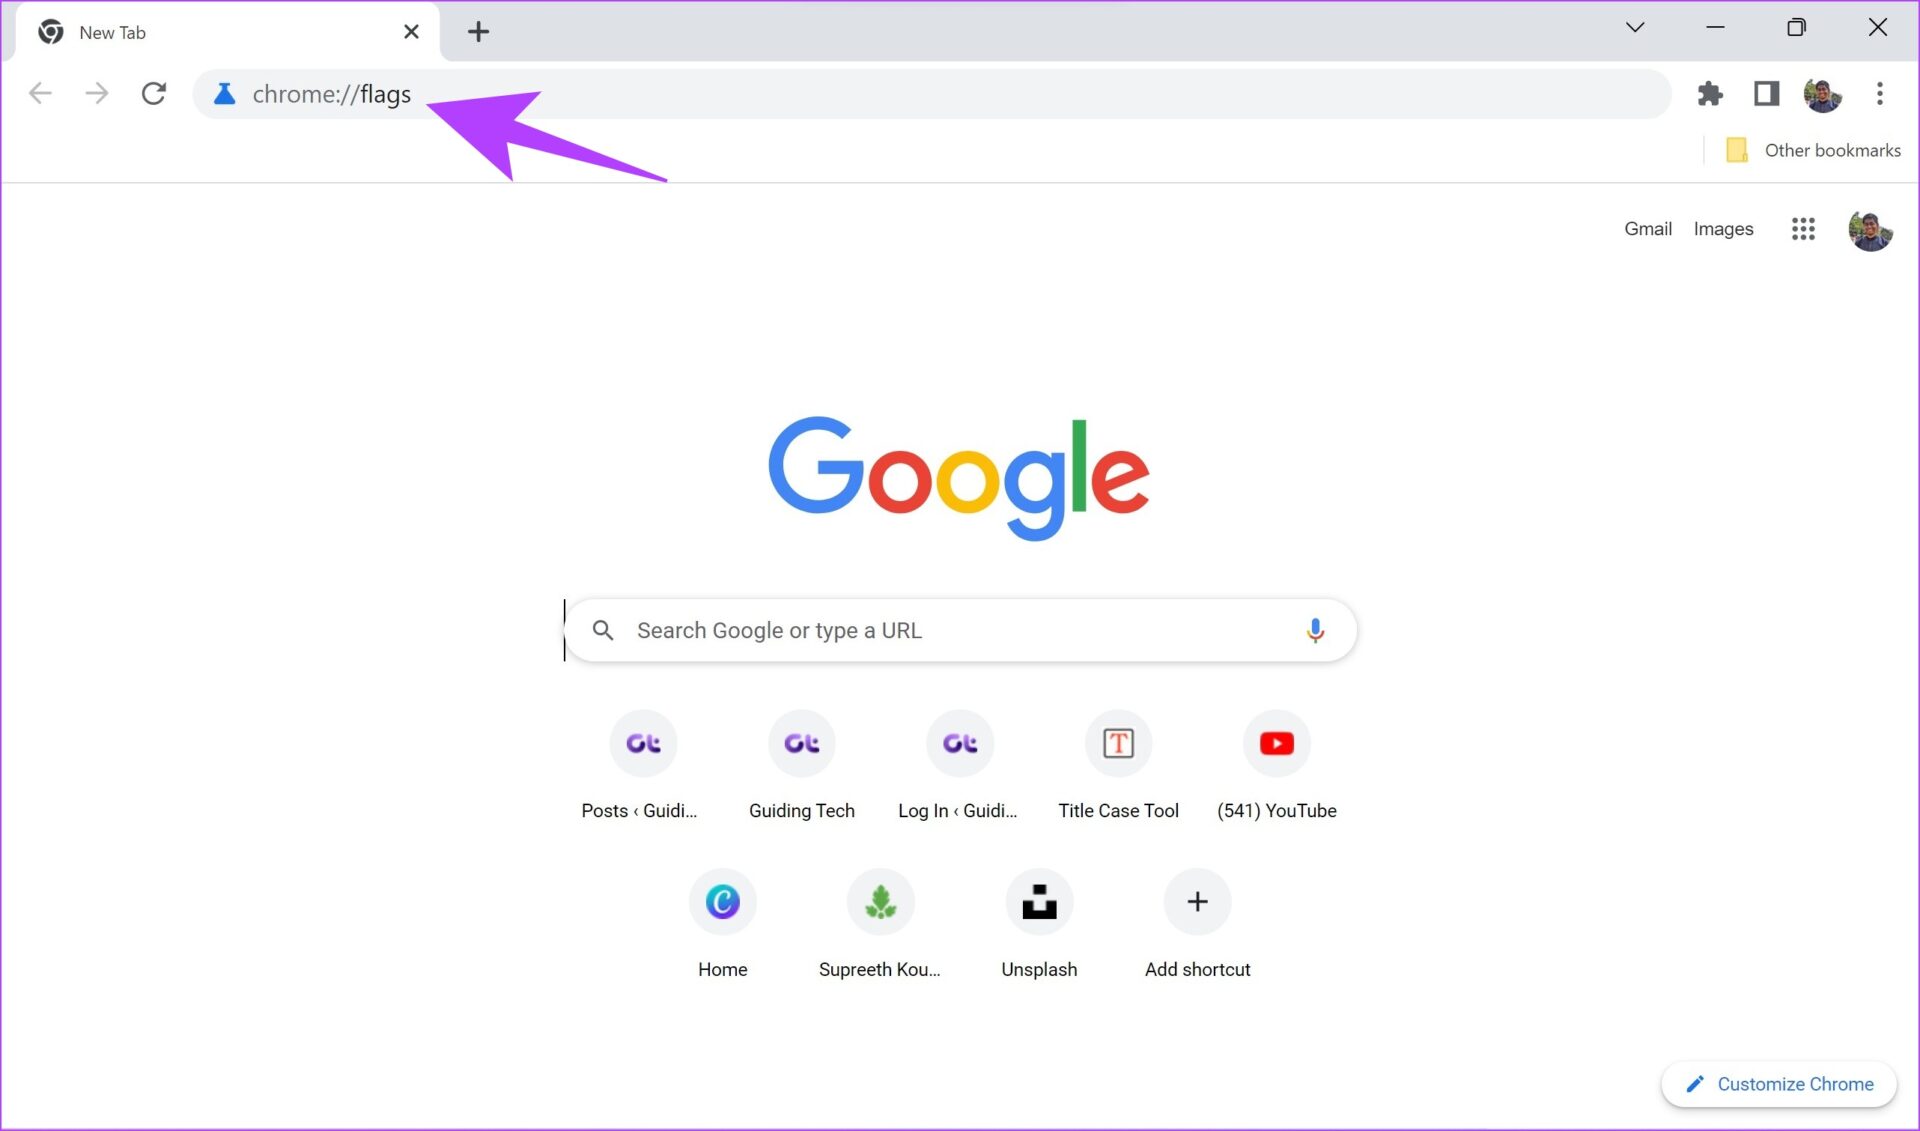
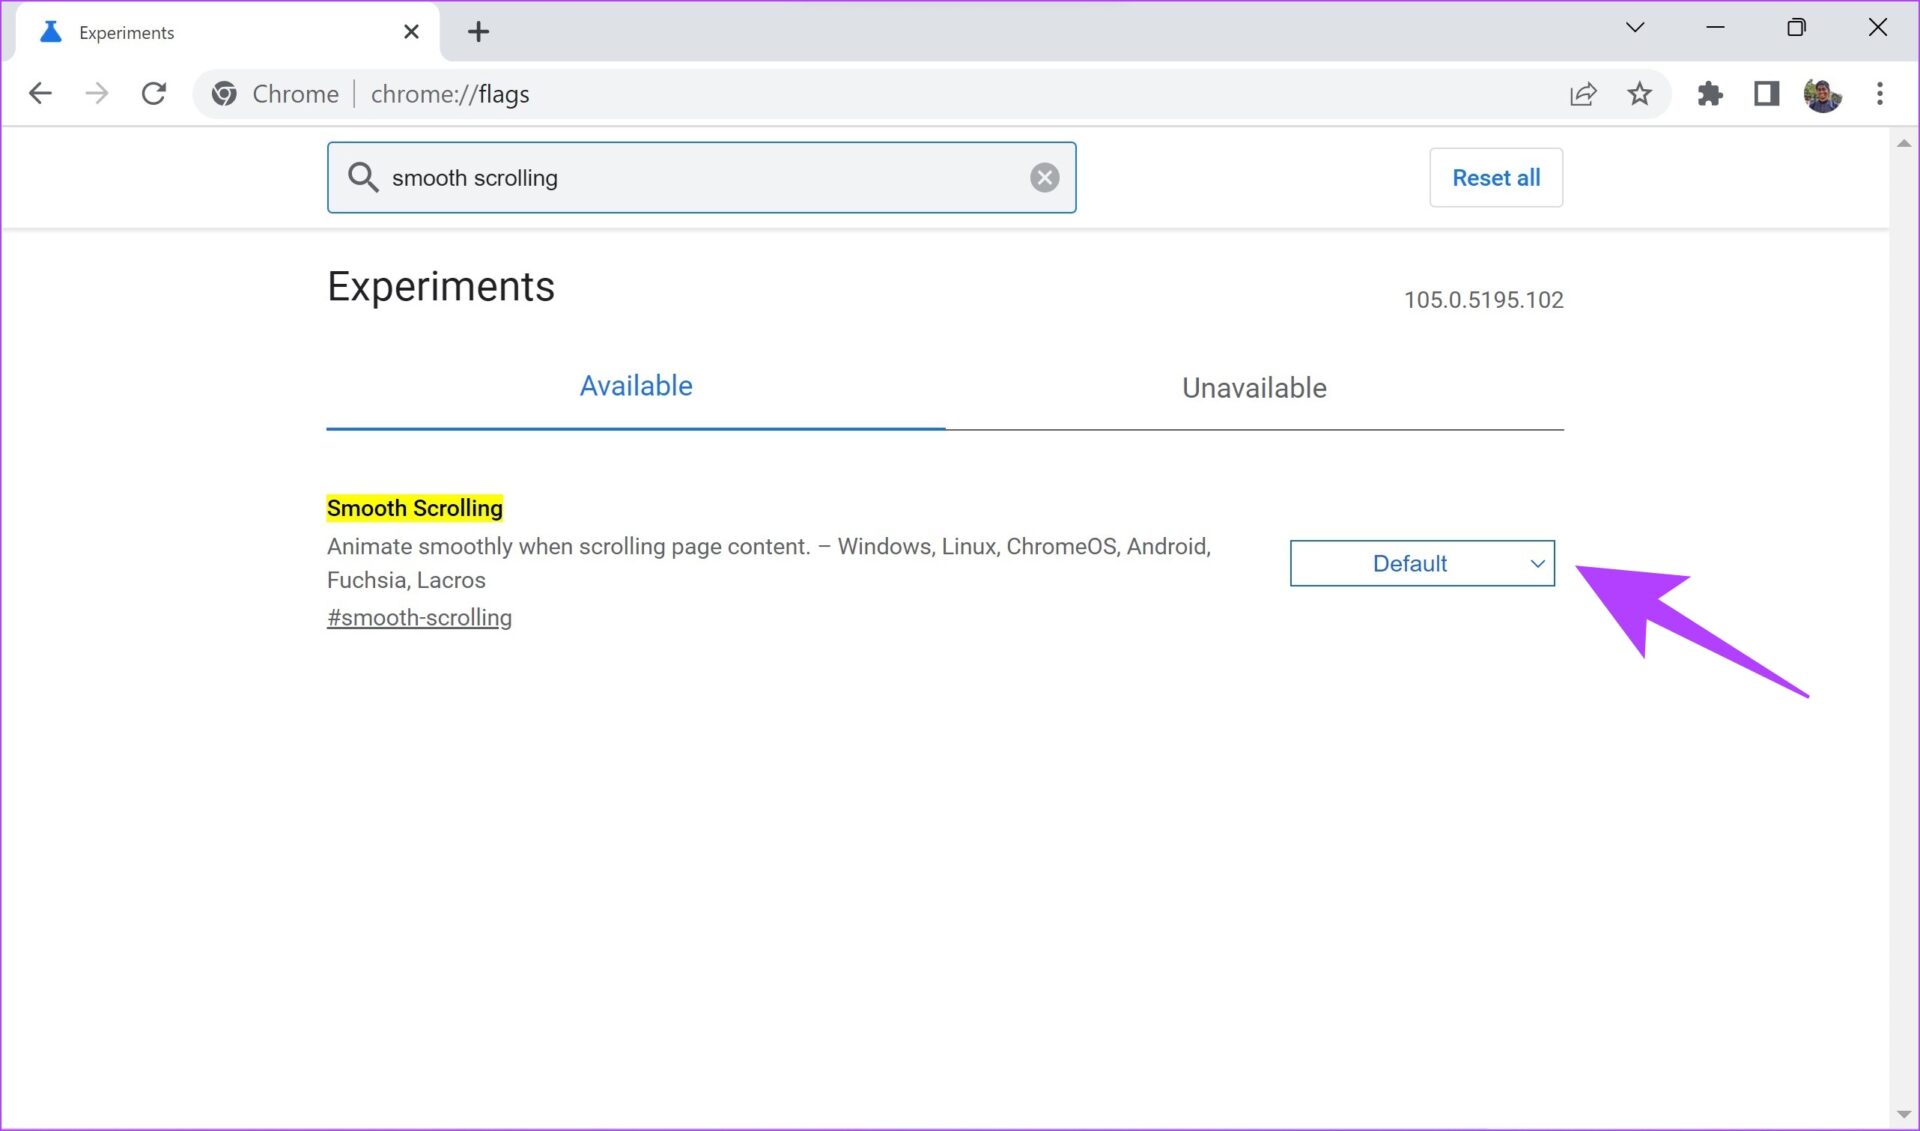
To adjust how Firefox handles media playback, type about:config in the browser’s address bar and open the preferences page. Then, type media.autoplay.default in the search box to locate this preference. Click the pencil icon next to it and change the value from 1 to 5, which instantly prevents videos and audio from playing automatically.

Changing the media autoplay preference value from 1 to 5.

Should you wish to revert this change, you can return here anytime and set the value from 5 to 1 again.

Disable Search Suggestions

When you type something into the address bar, Firefox shows search suggestions pulled directly from your default search engine. While this can save a few keystrokes by predicting what you’re about to type, it also means your data is sent to that engine before you even hit enter—a potential privacy risk. I personally find this concerning.

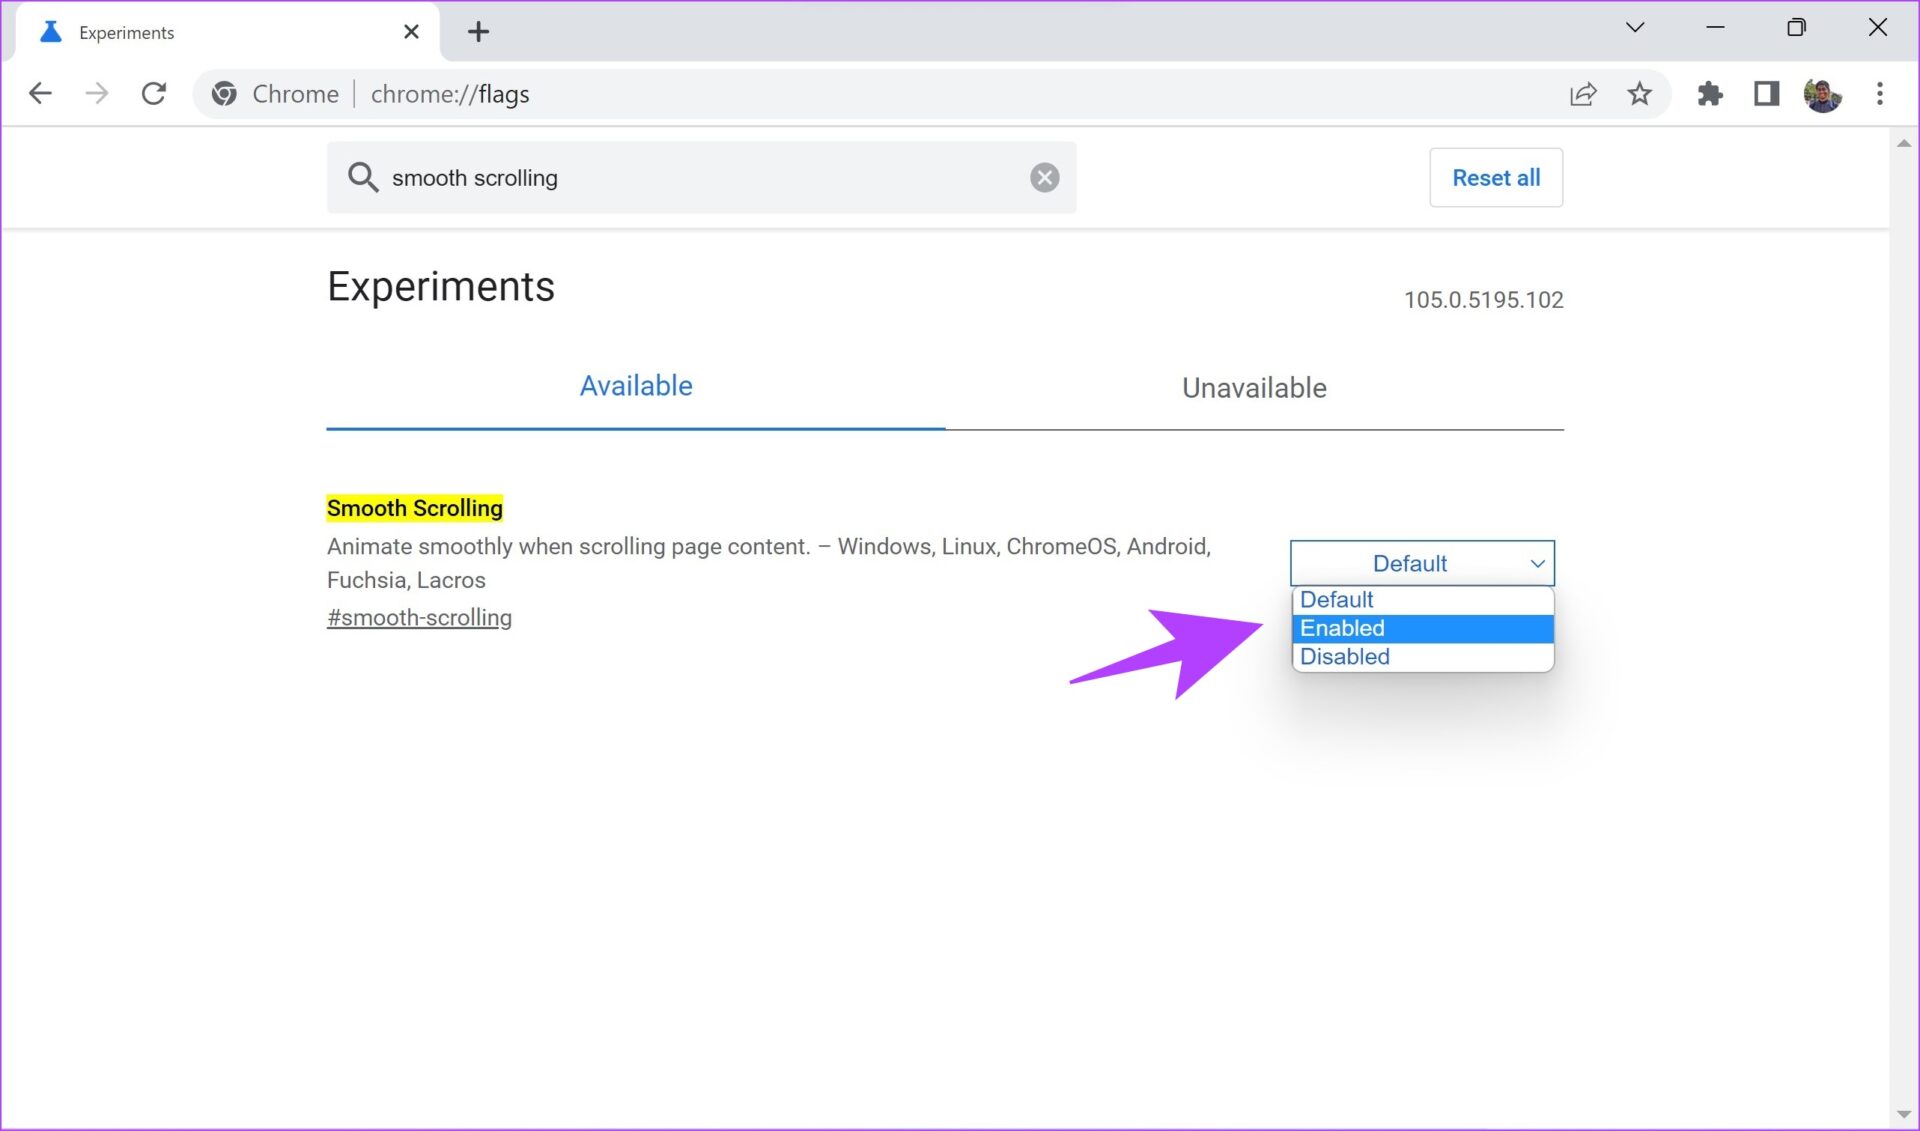
On top of that, suggestions can become a distraction, pulling you toward unrelated queries instead of the task you actually opened the browser for. That’s why I prefer keeping this feature turned off. To turn it off, go to the preferences page, type browser.search.suggest.enabled, and click the switch icon to set it to False.

Disabling the search suggestions on the Config page in Firefox.

Get Rid of Extra Animations

Firefox includes built-in animations and effects like tab fade-ins or menu slide-outs, which give the interface a smooth, polished look. While these visuals improve aesthetics, they can also slow down navigation. On lower-end devices, especially, such animations can put extra strain on hardware, making browsing feel sluggish.

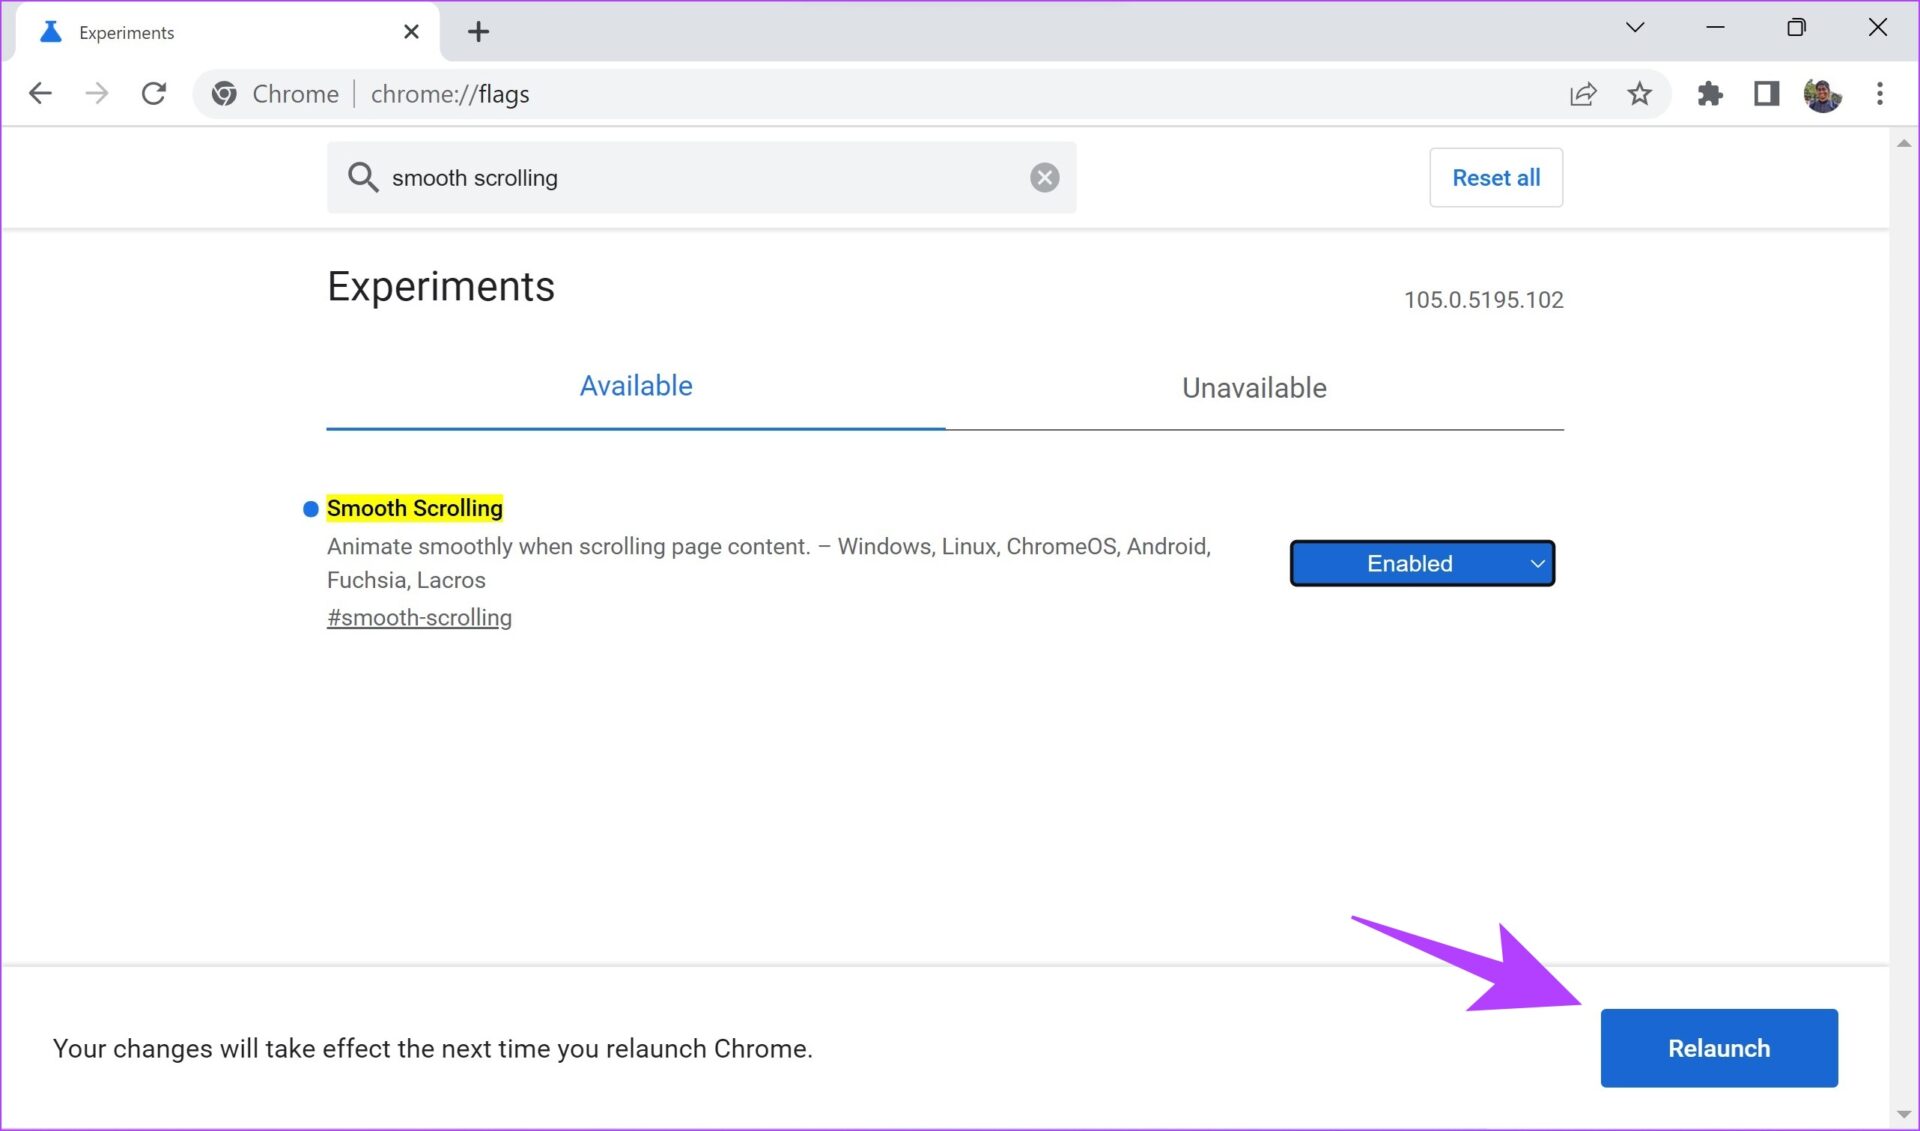
For a faster, more responsive experience where pages, menus, and tabs appear instantly, you should turn these animations off. To do this, open the about:config page in Firefox, search for toolkit.cosmeticAnimations.enabled, and double-click it to switch the value from True to False. Once disabled, you’ll notice a clear improvement in performance.

Disabling the extra animations on the Config page in Firefox.

Turn Off Telemetry and Data Collection

Like most browsers and operating systems, Firefox collects some diagnostic and usage data, often referred to as telemetry. It does this to troubleshoot existing bugs, improve the performance of the browser, and add new features.

Although it's claimed that this data is anonymized, I'm not comfortable sharing details about my browsing habits. If you're a privacy-conscious user, you should turn off this feature to gain better control over the data leaving your system.

To turn off telemetry and data collection in Firefox, locate the following entries in about:config and set their values from True to False:

  • Toolkit.telemetry.enabled
  • Toolkit.telemetry.unified
  • Browser.ping-centre.telemetry
  • datareporting.healthreport.uploadEnabled
Disabling the health report data collection from the Config page in Firefox.

Additionally, check the toolkit.telemetry.server preference. If it contains any string, clear it out. This ensures Firefox no longer sends tracking data.

Clearing the telemetry server string on the Config page in Firefox.

Firefox has a link prefetching feature that preloads pages in the background before you click them, allowing destination pages to open more quickly. While this can save time, the downside is that it uses extra bandwidth and system resources, which may slow down both your browsing experience and your device.

It can also trigger unwanted connections to sites you never planned to visit, and in the process, those servers might log your IP address even though you didn’t actually open the page. To improve your browsing privacy, go to the about:config page and search for network.prefetch-next, then double-click it and change its value to False.

Disabling the link prefetching on the Config page in Firefox.

Once disabled, Firefox will only load pages when you actually click on them, helping conserve bandwidth and boosting performance by cutting out unnecessary background tasks.

Disable Web Notifications and Push Services

Like other browsers, Firefox often lets websites request permission to send you push notifications, such as news alerts or promotional messages. If you accidentally allow an unknown site, you may end up with constant spam and distractions. These background push services also consume system resources and create potential privacy risks.

To block these requests, open the about:config page, search for the dom.webnotifications.enabled preference, and switch its status to False. This stops Firefox from keeping background connections for push services, making your browsing experience faster, lighter, and free of interruptions.

Disabling web notifications on the Config page in Firefox.

Thanks to the flexibility Firefox offers, you have the freedom to tailor it into the browser you truly want. Its config settings let you minimize distractions, remove unnecessary extras, and focus on features that make browsing faster and more efficient. If you find the browser annoying, apply these tweaks—you’ll notice the difference just as I did.

Source: https://www.howtogeek.com/firefox-config-settings/

September 22, 2025

Chrome Themes: Classic with white Omnibox

Classic with white Omnibox Theme


For anyone not enjoying the new retro light blue color theme, try the following theme from the Chrome Web Store: Classic with white Omnibox (shown below)

Here is the link to find it:

https://chromewebstore.google.com/detail/classic-with-white-omnibo/lfjbdknljkihdgnabcdofiabofedjjkh?pli=1


Enjoy.


September 15, 2025

Top 9 Flags to Make Google Chrome Faster in 2022

 Google Chrome is a household name because of its mostly snappy performance. Yes, ‘mostly’ snappy. Over time, we observed that Chrome gets sluggish. If clearing browser data and resetting Chrome does not cut it – you probably need to check out the experimental features called flags. In this article, we’ll show you nine such flags to make Google Chrome faster.

Best Flags to make Google Chrome faster

Flags on Chrome are present on a hidden page. This is because enabling the wrong flag can mess up your web browsing experience. Therefore, we advise you to carefully read this article to enable the right flags that will help improve speed and performance on Google Chrome.

What Are Flags in Chrome

Flags are a set of experimental features and configurations on Google Chrome. These are not intended for regular users but for developers.

If you are developing a web application, you obviously must ensure that it runs well on Google Chrome. This of course will need you to test the behavior of the application under each configuration of Google Chrome. And the flags menu on Chrome lets you do all of these tests and experiments, by enabling and disabling many micro-level features on Google Chrome.

However, a few flags are safe to use and enhance the web browsing experience. We looked into such flags and have explained in detail how they will help you. But before we get there, let’s understand how to open the flags menu on Google Chrome.

How to Open Chrome Flags Menu

In the address bar of Google Chrome, type in ‘chrome://flags’. This is all you need to do to enter the flags page. It might seem overwhelmingly technical at first but fret not as we have an easy-to-follow procedure to enable useful flags.

Type in Command For Flags

But how do we find useful flags and enable and disable them in the long list of flags? Read our next section to find out more.

How to Enable Google Chrome Flags

Step 1: Go to chrome://flags.

Step 2: Enter the name of the flag to find it. We have recommended the best ones in the next section.

Search Bar on Flags

Step 3: Once you find the flag, click on the drop-down menu next to it.

Click on Drop Down Menu After Search

Step 4: Now, click on Enabled to enable the flag.

Click on Enabled

Step 5: Now, you will be asked to restart Chrome to get the settings into effect. Simply click on Relaunch.

Relaunch Chrome

Now that we have learned how to enable flags, it’s time we start searching, and configuring some of the useful flags that’ll help make Chrome faster.

9 Best Flags to Speed Up Google Chrome

Here’s a list of nine flags to improve your web browsing experience on Google Chrome. Read the description to understand what each flag does, and how it can affect Chrome. Once you understand and feel the necessity for it, you can go ahead and enable the same. For convenience, we have added a quick link to open up these flags on Chrome.

1. Experimental QUIC Protocol

Online protocols are how two applications can exchange information over the internet. QUIC is an experimental protocol developed by Google. The objective of this protocol is to reduce latency, and congestion in comparison to TCP – which is the protocol that is used online. Thus, enabling QUIC can help improve your web browsing speeds.

chrome://flags/#enable-quic

QUIC Protocol

2. Parallel Downloading

Consider a situation where you are downloading a large file on Google Chrome, and it is taking up a lot of time. When you enable Parallel Downloading, the large file is split into different parts. The downloader will establish multiple connections to different servers and download the parts. This can potentially increase the download speeds on Chrome.

chrome://flags/#enable-parallel-downloading

Parallel Downloading

3. GPU Rasterization

By default, Chrome will not use the GPU to process and render media. If your PC has a powerful GPU – you can enable the GPU rasterization flag. This will ensure your GPU also performs a few tasks and thus, improve some efficiency in the performance.

chrome://flags/#enable-gpu-rasterization

GPU Rasterization

4. Override Software Rendering List

You might have a powerful GPU on your system, but at times Chrome will not be able to use GPU acceleration due to various reasons. This is usually caused by Chrome failing to recognize and enable GPU drivers.

When you enable ‘Override software rendering’, it will force Chrome to use GPU rendering over the default rendering mechanism. Thus, this GPU acceleration can enable a better web browsing performance.

chrome://flags/#ignore-gpu-blocklist

Override Software Rendering List

5. Fuzzy Search for Tab Search

All of us have experienced situations where we have hundreds of tabs open on Google Chrome, and we are unable to find that one particular tab. And to solve this problem, there is a tab search option on the Google Chrome toolbar, the bottom-facing arrow next to the minimize icon.

To make the search results even faster, you can enable the ‘Fuzzy search for Tab Search’ flag. It allows you to search for terms similar to your intended search query and not the exact one. For example, if you are searching a Google Calendar tab, you can type in ‘GC’ and it will return the search result that includes the Google Calendar tab.

chrome://flags/#tab-search-fuzzy-search

Enable Tab Search

6. Back Forward Cache

The back and forward button on the toolbar of Google Chrome is the fastest way to navigate between websites you just visited. If you have been a fan of this feature and use it all the time, you will appreciate this flag.

Enabling the ‘Back-forward cache’ flag will cache your recently visited websites. This will ensure you can instantly access the last site you visited on the same tab, or go forward a website.

chrome://flags/#back-forward-cache

Back Forward Cache

7. Zero-Copy Rasterizer

A GPU has a temporary memory unit called the VRAM. This exclusively works with the GPU. In some cases, especially if you are using an older version of RAM, your VRAM will be significantly faster. This will also help if your RAM is quite low in size.

If you enable the ‘Zero-copy rasterizer’ flag, Chrome will use the VRAM for tasks and increase the speed of your web browsing experience.

Zero Copy Rasterizer

8. Smooth Scrolling

Ever noticed sluggish scrolling on content-heavy webpages? We’re sure you have. We have too, even on PCs with good internals. Thankfully, there is a fix for this issue within flags.

If you enable the Smooth Scrolling flag, you can experience a much smoother and faster scrolling experience. As you enable the flag, it adds a few lines of code in the back end of the website (CSS, React, etc.), that can improve your navigation experience through an animation effect.

chrome://flags/#enable-zero-copy

Smooth Scrolling

9. Show Autofill Predictions

All of us visit websites that require us to fill in personal details for shipping, registration, etc. One way to speed up this process is to enable the ‘Show Autofill predictions’ flag. When you enable this flag, you get predictions to fill unnamed fields with your existing autofill information saved on Chrome.

chrome://flags/#show-autofill-type-predictions

Show Autofill Predictions

These are some of the flags to make Google Chrome faster. However, if you have accidentally enabled a flag or want to opt out of flags entirely for whatever reason, here’s how to do it.

How to Reset Chrome Flag Settings

While you can individually disable flags, it is quite a hassle to search or even remember what you enabled in the first place.

You can quickly disable all flags at once using the ‘Reset all’ button provided on the main page of the flags.

Reset All

We hope you’re clear on how to enable and use flags on Google Chrome. In case you have a few questions, you can take a look at our FAQ section.

FAQs on Chrome Flags

1. Are Chrome flags safe?

Yes, Chrome flags are safe to use. However, enabling the wrong flag might make your browser unstable, so we recommend enabling only the flags that you are fully aware of.

2. Are Chrome flags available on Mac?

Yes, Chrome flags are available for the following platforms—Chrome for Windows, macOS, iOS, Android, Linux, and Chrome OS.

3. Some flags are not available on my Chrome. What do I do?

Not all flags are available for all users, as it depends upon the device you are using and the build number of your Chrome. The best you can do is ensure to update to the latest version of Google Chrome.

Make the Best Use of chrome://flags

Provided you use it in the right way, flags on Chrome can significantly enhance your web browsing experience. We hope this article helped you use flags to make Google Chrome faster. Stay updated to the latest version of Google Chrome to never miss out on any new set of flags.

Source: https://www.guidingtech.com/top-flags-to-make-chrome-faster/

11 Ways to Speed Up Google Chrome

One of the most popular web browsers users love is Google Chrome, yet in spite of all the feature updates and bug-fixes, Chrome can be slow at times because of some of its features, extensions or applications.


The good news is that there are various tips and tricks, and hacks that help to improve the overall speed and sensitivity of this browser, which subsequently can improve its page loading and web browsing speeds. In this post we will be looking at 11 ways to help speed up your Chrome.


Recommended Reading: 5 Useful Chrome DevTools Tips for Developers

1. Get Rid of What You Don’t Need


These tips and tricks disable various unnecessary and unneeded features of Chrome to allow the browser to load web pages faster. These include extensions, plugins and web apps you don’t need.
1. Disable Avoidable Extensions


Extensions are tools that extend the functionality of the Chrome browser, which are helpful yet some may actually be less helpful than you think. Extensions mostly run in the background, and parse or filter web pages before they’re displayed on the screen, but will also load their own pack of data from the Internet.


To get better browsing speeds and good response times, disable and/or delete extensions you don’t actually need.


To disable extensions you do not need:
Type “chrome://extensions” in your Chrome’s location bar. Alternatively, you can go to Chrome’s Options > More tools > Extensions.
Untick the Enabled to the extensions you want to disable, or click the Trashicon to delete the extension.


2. Disable Unnecessary Plugins

Plugins are much like extensions. They provide extended functionalities to the browser. Chrome comes with few built-in plugins provided by Google (like Chrome PDF Viewer, Native Client, etc.), and may carry plugins by other software installed in your computer. Plugins, like extensions, can slow down the browser and clog memory and network resources.


To disable plugins you do not need:
Type “chrome://plugins” in your Chrome’s address bar.
Click Disable to disable the plugin you no longer need.


3. Remove Unnecessary Web Apps

Google Chrome is not just a web browser. It’s also an application platform for web apps. It can run locally-installed web apps written using HTML5, CSS, and JavaScript. While web apps don’t load resources like websites do, if you don’t need them, shed them.


To remove unnecessary web apps:
Type “chrome://apps” in your Chrome’s address bar or click Apps on the Bookmarks bar
Right-click the app you want to remove, select Remove from Chrome…, and click the Remove button to confirm the removal


4. Enable Prefetch Resources

Google Chrome comes with many intelligent features such as network prediction, spelling correction, resource preloader, etc. Resource pre-fetcher or preloader provides intelligent suggestions about the pages or links the user is most likely to open next, loading those pages/links in the background before you actually open them.


To enable the prefetch feature in Chrome browser:
Head over to Chrome’s Options > Settings > Show advanced settings…
Check the “Prefetch resources to load pages more quickly” option.


Enable Secret Hacks


Google Chrome packs many secret and experimental features under its hood. These are experiments by the Chrome’s developer team – some may not be built for novice users, some may not work for some devices, and some may not be good for your computer too.


But lucky for us there are some experiments that are useful enough to boost the browser’s page-loading and rendering engines.


Again, some of them may not work for some devices, and if you find yourself in a situation like this, just undo the hack to go back to normal.

5. Experimental Canvas Features


Experimental Canvas Features allow the Chrome to make use of opaque canvases to amplify the loading times and boost performance.


To enable experimental canvas features:
Go to “chrome://flags/#enable-experimental-canvas-features“.
Click on Enable and then Relaunch Now button


6. Fast Tab/Window Close


The Fast Tab/Window Close option increases the response time of the browser when a user tries to close tabs or windows. Enabling this feature runs a tab’s onUnload.js handler independently of the graphical interface and speeds up the closing process.


To enable fast tab/window close feature:
Type “chrome://flags/#enable-fast-unload” in the address bar
Click on Enable and then Relaunch Now button


7. Scroll Prediction


Scroll Prediction feature tells the Chrome browser to predict the finger’s future position during scrolls allowing the engine to render the frame before the page is scrolled again.


To enable Scroll Prediction:
Type “chrome://flags/#enable-scroll-prediction” in the location bar
Click on Enable and then Relaunch Now.


8. Maximum Tiles


Maximum Tiles refers to the tiles for interest area. Increasing the maximum number of tiles allows Chrome to show more tiles based on your interests or browsing history, which allows you to quickly open a new website from the interest area.


To increase the number Maximum Tiles:
Head over to “chrome://flags/#max-tiles-for-interest-area” in your browser
Choose 512 from the dropdown. Click Relaunch Now.


9. Raster Threads


Raster Threads are responsible for rendering images in Chrome . Increasing the number of raster threads improves the image rendering time, and thus influences page loading time.


To increase the number of raster threads:
Open “chrome://flags/#num-raster-threads” in Chrome.
Select 4 from the dropdown menu and click Relaunch Now.


10. Answers in Suggest


The “Answers in Suggest” feature allows Chrome to show responses to certain types of queries (mostly questions) directly in the Omnibox’s suggestion list. After enabling this feature, you no longer need to wait for the page to load to see answers for your queries.


To enable Answers in Suggest:
Type “chrome://flags/#answers-in-suggest” in the location bar.
Select Enabled from the dropdown. Click Relaunch Now button.
11. Simple Cache for HTTP


Simple Cache is the new caching mechanism for Google Chrome. It works better than the old caching system, relying on the filesystem for space allocation.


To enable Simple Cache:
Go to “chrome://flags/#enable-simple-cache-backend” in your browser.
Select Enabled from the dropdown. Click Relaunch Now button.


Wrap Up


How’s your browsing experience using Chrome after following these tips and tricks? Do you any more tips & tricks or hacks to speed up Google Chrome?

Please let us know using comments.

Source: https://www.hongkiat.com/blog/chrome-boost-browsing-speed/

How to install Ungoogled Chromium

 What is Ungoogled Chromium:


In order to understand Ungoogled Chromium, you first need to understand some basic information on the base browser, Chromium.

Chromium is the open-source engine and framework that Google Chrome is derived from; it also functions as the upstream for well-known browsers like the Brave browser.

This does not necessarily mean that Chromium is Google Chrome.

This also does not at all mean that Chromium, as it is, is a private alternative to Google Chrome.

This gap is exactly where Ungoogled Chromium steps in.

Ungoogled Chromium is what its name implies; it is Chromium stripped of its dependencies on Google web services such as "Safe Browsing" and Google Location Service.

This improves your online privacy because it completely eliminates the "phoning home" to Google servers - something that even regular Chromium does.

For example, "Safe Browsing" sends data of the sites you visit to Google to ensure that these sites are "safe." This feature sounds good, but if you follow your standard internet safety checklists, you'll be pretty good at avoiding obviously "unsafe" sites.

The privacy issue with a "Safe Browsing" web search is that Google you're feeding the G machine free information. You can bet that they are recording what sites you visit, when you visit them, how often you visit them, and etc.

Ungoogled Chromium also removes the Google (and other Big Data/Big Tech) defaults.

For example, regular Chromium sets your browser's default search engine to Google. Ungoogled Chromium's default is its "No Search" feature.

Forewarning

While Ungoogled Chromium is a solid Chromium-based browser for privacy, you should be aware that it is not without its faults, which could compromise the general user experience, such as:

Maintained by a small group of developers

Patches come out slower than for standard Chromium (NOTE: Despite this, the developers are very good at being speedy in applying released security updates to the source code)

Binaries are created by volunteers. (This is also a warning that can be found on Ungoogled Chromium's GitHub download page.)

How to install on Linux

Most Linux users also have a couple of different ways to install Ungoogled Chromium. By far the easiest method to accomplish this would be to use Flatpak.

As previously explained, Flatpak has broad support for many different Linux flavors out there. Some distros, such as Linux Mint, have Flatpak installed by default. For those that don't have Flatpak already installed, you will need to install it prior to using this method to install Ungoogled Chromium.

Once Flatpak is installed on your system, you must add the Flathub repo (assuming it has not already been added) using this command: flatpak remote-add --if-not-exists flathub https://flathub.org/repo/flathub.flatpakrepo

1-Now we're ready for our system to install Ungoogled Chromium: flatpak install flathub com.github.Eloston.UngoogledChromium

Linux users who do not wish to use Flatpak (depending on the distro) can use the source to build their own Ungoogled Chromium package here .

Alternatively, Linux users can also make use of the volunteer binaries for their particular distro.

When using the binaries, if your distro doesn't have a graphical interface to handle the installation for you, then you can always use the terminal to install everything.

Source: https://avoidthehack.com/how-to-install-configure-ungoogled-chromium#linux


2-Download the Google Web Store CRX file:
https://github.com/NeverDecaf/chromium-web-store/releases

3- 
Set chrome://flags/#extension-mime-request-handling to Always prompt for install and relaunch.


Alternate How to get it:


For those that want to try running an Ungoogled (Google tracking removed) version of Chromium, you can download it from the Snap Store or head here for a direct download. Enjoy.

https://flathub.org/apps/com.github.Eloston.UngoogledChromium

https://ungoogled-software.github.io/ungoogled-chromium-binaries/